This is a comprehensive guide on how to create and edit size guides for your store.
- Assign a name:
- Displayed in your Store Size Guide modal title
- Displayed on list of size guides
- Set Store visibility:
- Draft — Hides the Size Guide Button and modal from your Store
- Public

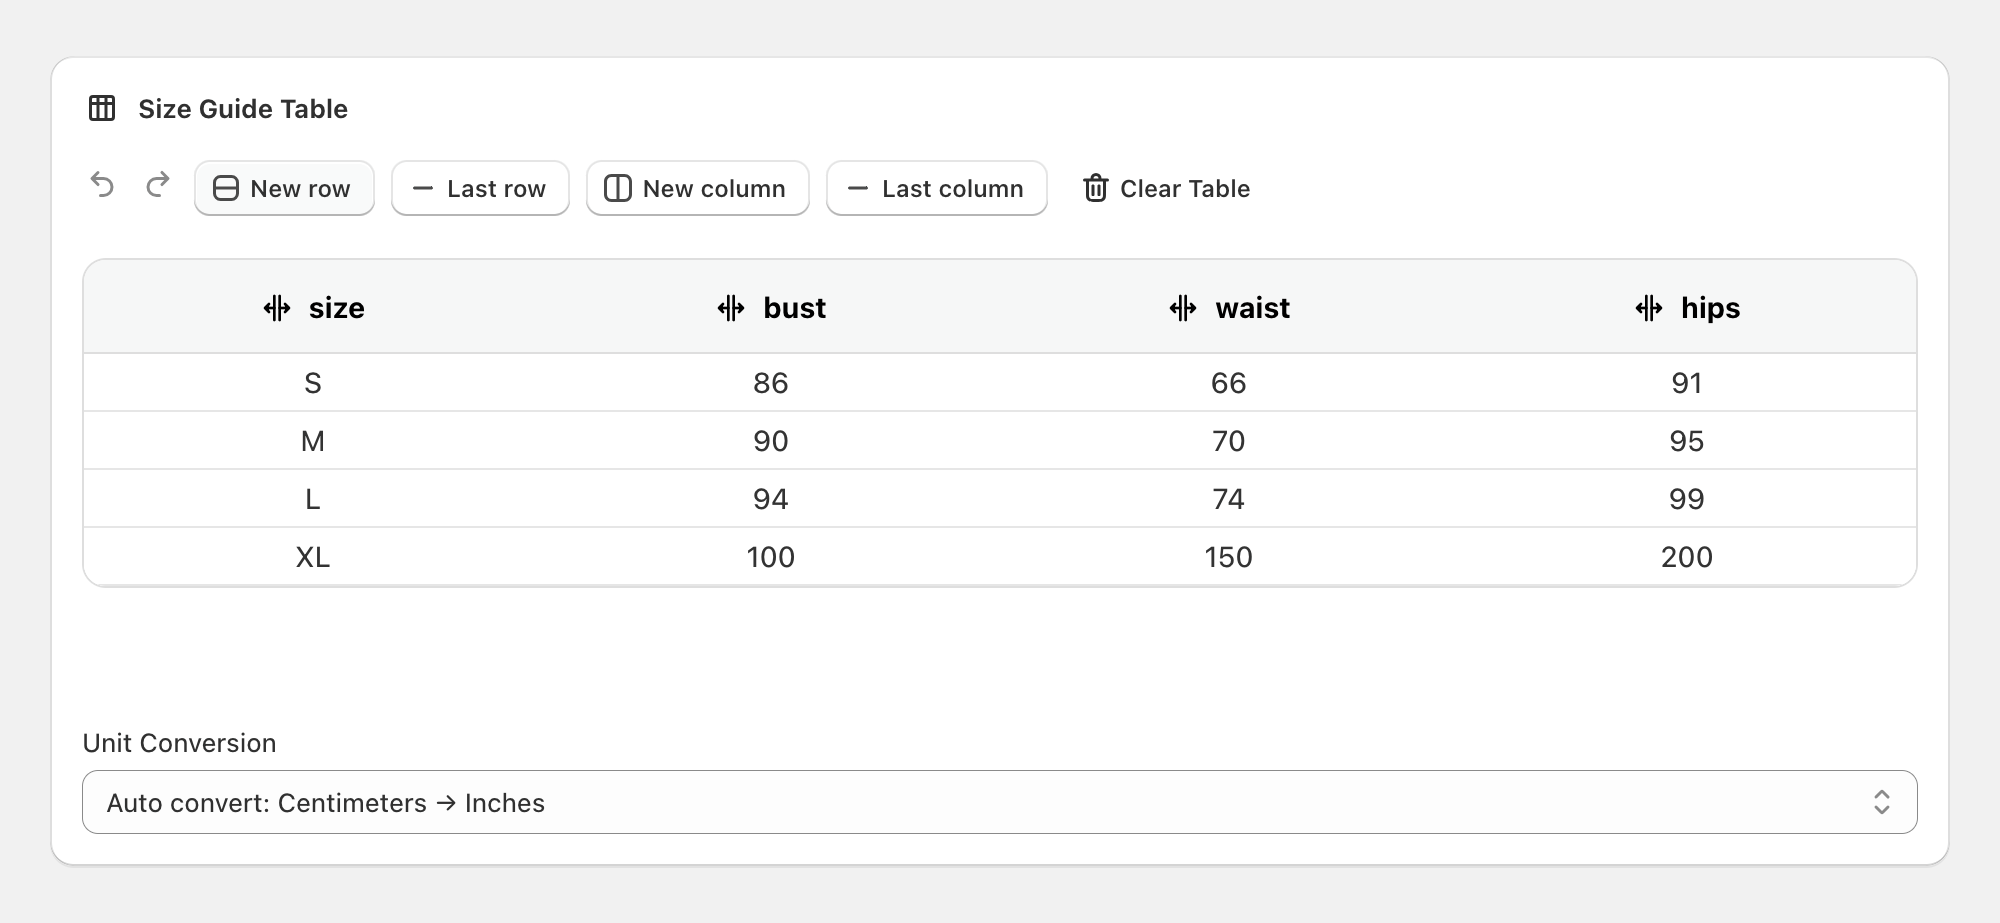
- Size Guide table
- Add new row
- Delete last row
- Add new column
- Delete last column
- Drag rows vertically
- Drag columns - Drag the arrow icon to move columns horizontally
- Clear Table - Delete all table content
- Unit Convertion —
With auto unit convertion, the merchant only needs to
- Auto Convert: Centimeters → inches
- Auto Convert: Centimeters → inches
- Do not convert. Hides the unit toggle option on your theme
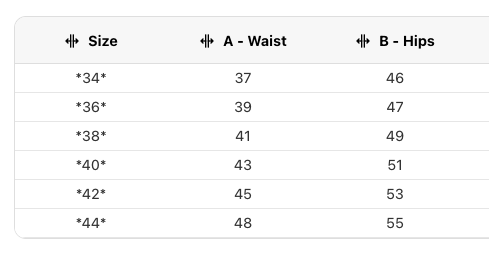
To prevent auto conversion on specific cells numeric values, wrap the value around * (asteriscs).
Example: *32* instead of 32
The Print Screen Importer feature allows you to quickly populate your size guide table by uploading images containing size chart data. This powerful tool can save you hours of manual data entry, even from third party websites or providers.
-
Upload Your Image
- Click the “Import from Image” button
- Select an image file from your computer (PNG, JPG, or JPEG)
- The system supports common image formats with size chart data
-
Image to text processing
- The system will automatically process your image
- OCR technology extracts text and table data from the image
- Processing time varies based on image complexity (usually 0.5-03 seconds)
-
Review Extracted Data
- The extracted information will fill your table automatically
- Preview the extracted data in a structured format
- Check for accuracy and completeness
- The system attempts to organize data into rows and columns
- You can edit any imported data as needed
- Image Quality: Use high-resolution, clear images for better OCR accuracy
- Contrast: Ensure good contrast between text and background
- Table Structure: Images with clear table borders and distinct rows/columns work best
- Text Size: Avoid images with very small or blurry text
- Lighting: Well-lit images without shadows produce better results
- JPG/JPEG, PNG, GIF, WebP files
- Maximum file size: 10MB
- Recommended resolution: 72 DPI or higher
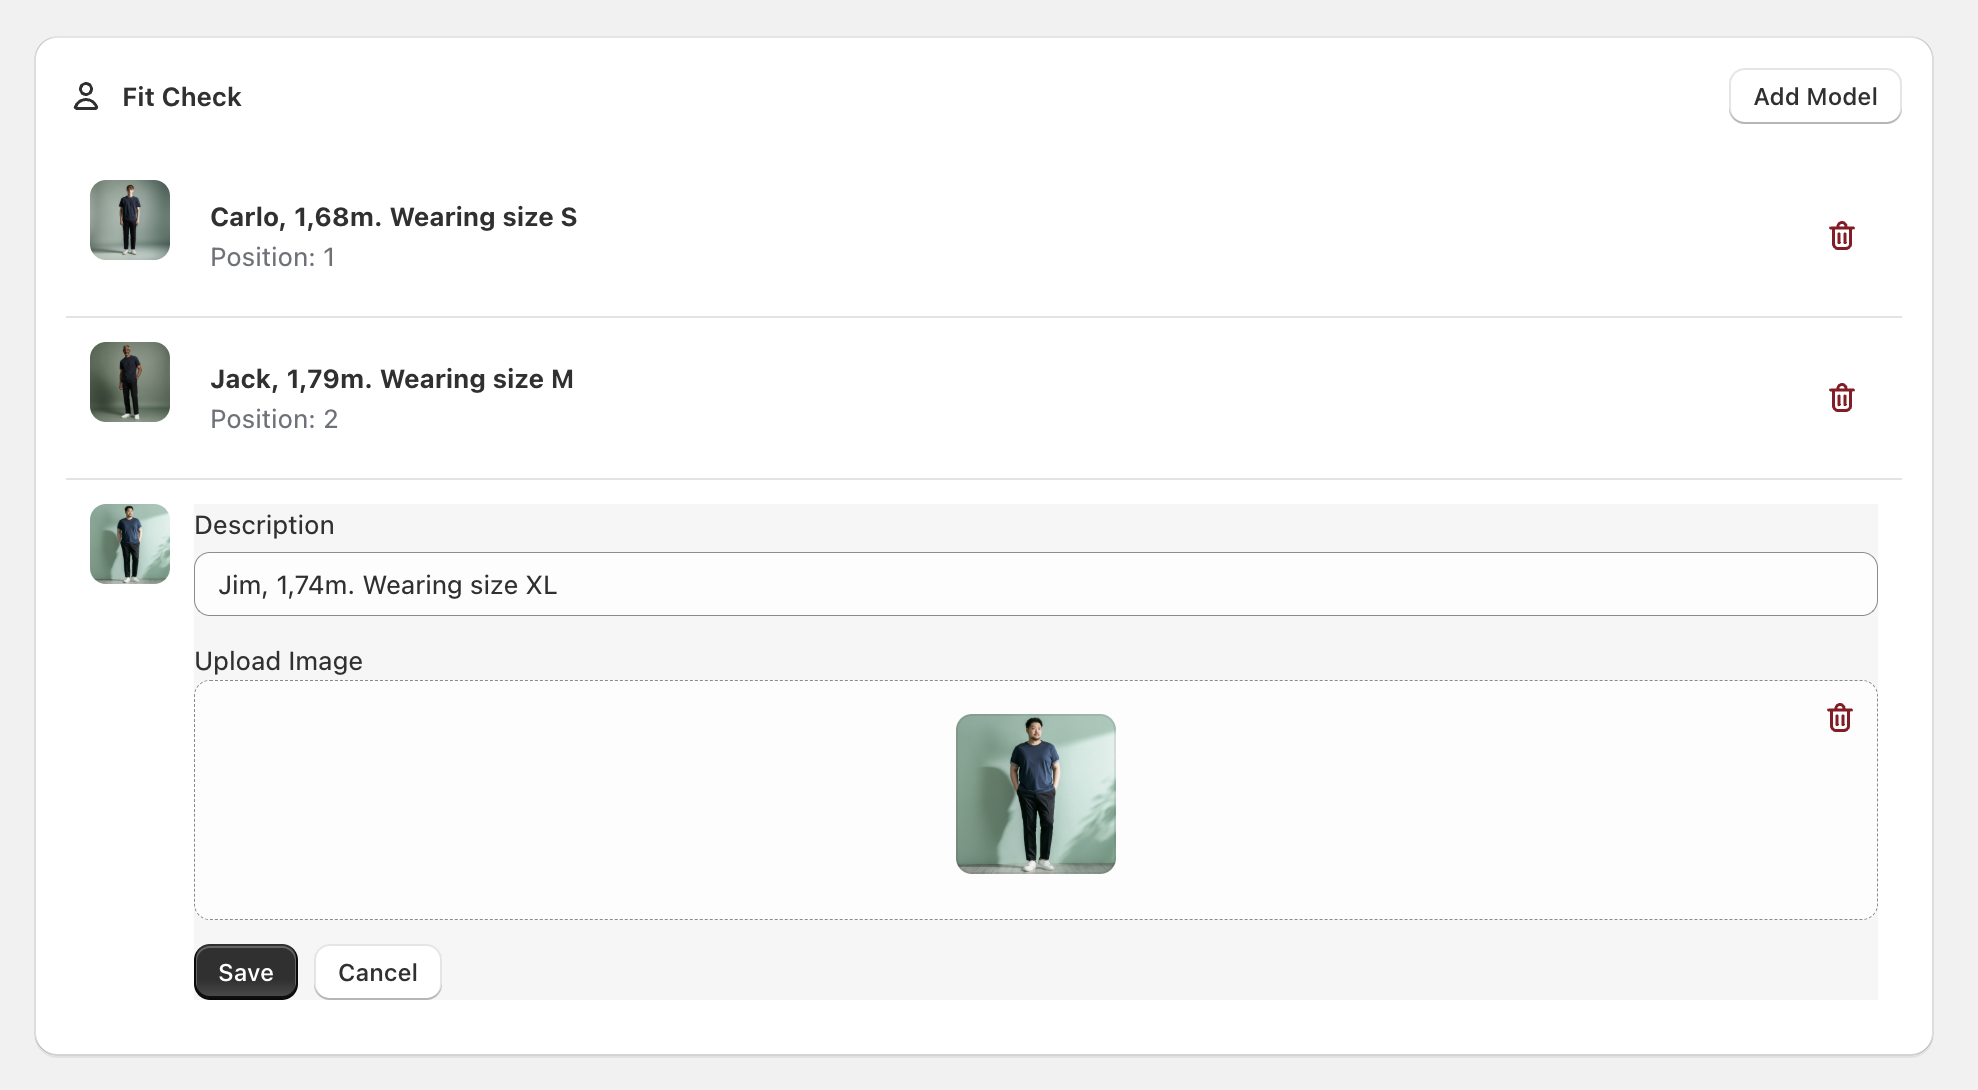
The Fit Check feature allows you to showcase models wearing different sizes of your products. This helps customers visualize how different sizes look on real people.
-
Access Fit Check Section
- In your size guide editor, locate the “Fit Check” section
- Click “Add Model” to create a new fit check entry
-
Add Model Information
- Click on any existing model entry to edit it
- Enter a description (e.g., “Maria, 1.74m. Wearing size M”)
- Upload an image of the model wearing the product
-
Managing Models Options
- Add models showcasing different sizes
- Edit model descriptions and images as needed
- Delete models
- Drag and Drop: Upload images by dragging files into the designated area
- Click to Upload: Click the upload area to browse and select image files
- Image Management: Replace or remove images easily during editing
You can assign your Size Guide to specific Products, or Product types.
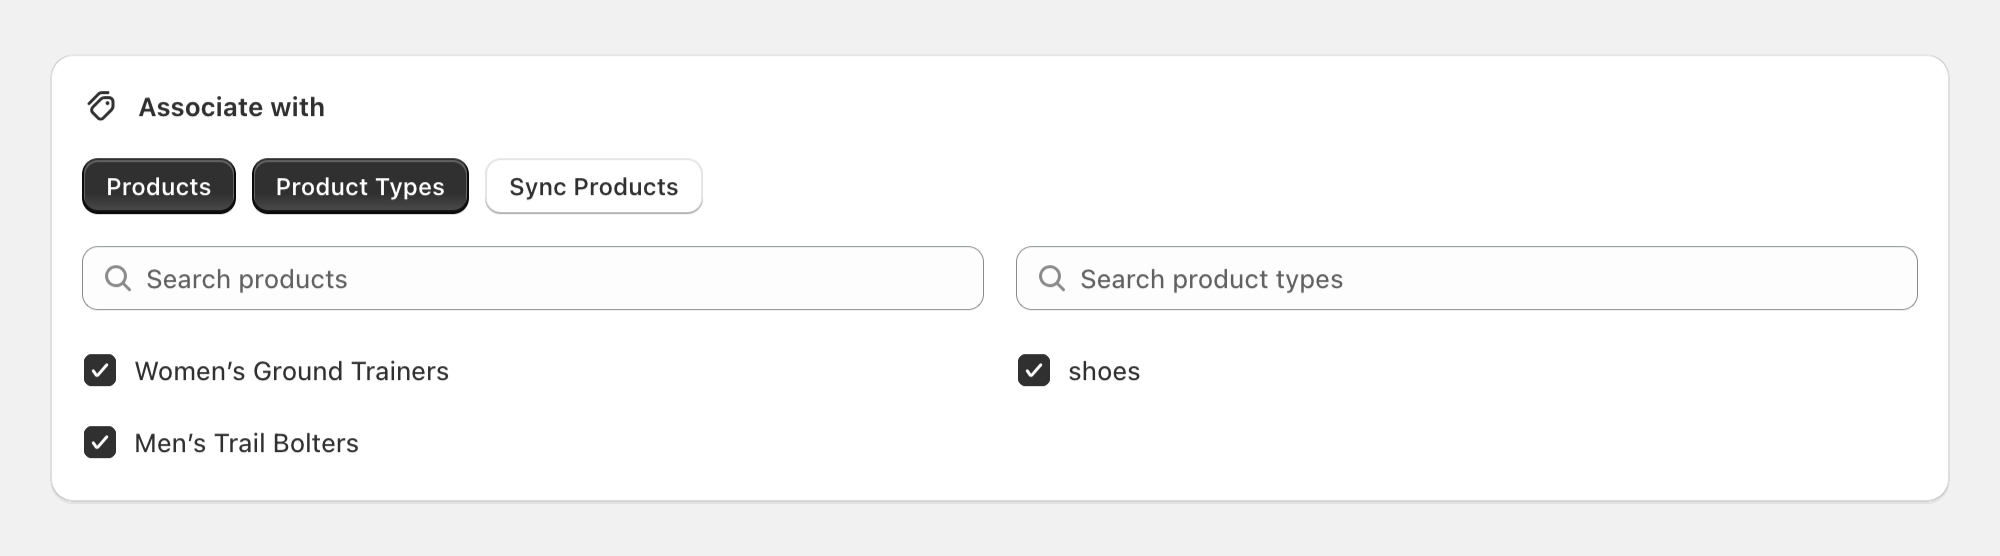
Products are refreshed automatically. If you cant see a specific product on the Product list, click on the Sync Products button.